
Fuel filters power not be the flashiest part of your tool, but their role is critical in ensuring a smooth and effective ride. They help keep your transformer safe from injurious debris and contaminators. Knowing how to supply them can not only sustain you on a trip to the mechanic but also keep your ride running flat.
So, if you’re ready to roll up your sleeves, let’s dive into the realm of fuel filters and learn in what way or manner to replace them.
Understanding Fuel Filters: The Gatekeepers of Your Engine
Before we jump into the how-to, let’s take the importance of appreciating the humble fuel filter. Positioned between the fuel container and the engine, this component acts as an impediment, preventing soil, rust, and other atoms from entering the engine. Visit a shop for Auto Repair in Mesa, AZ if you need more help.
Tools You Will Need
- A new fuel filter (confirm it’s compatible accompanying your vehicle model)
- A wrench or socket set
- Screwdrivers (flathead and Phillips)
- A rag or small box to catch spillage
- Safety gloves and goggles (Safety first!)
Step-by-Step Replacement Guide
· Step 1: Safety First
Before you start, ensure your automobile is parked on a flat surface, and the engine is off. Disconnect the negative terminal of the battery in order to avoid any energetic mishaps.
· Step 2: Relieve Fuel System Pressure
This step is critical since the fuel order is pressurized. Locate the fuel pump meld in the fuse box and eliminate it. Start the car and allow it to run until it stalls.
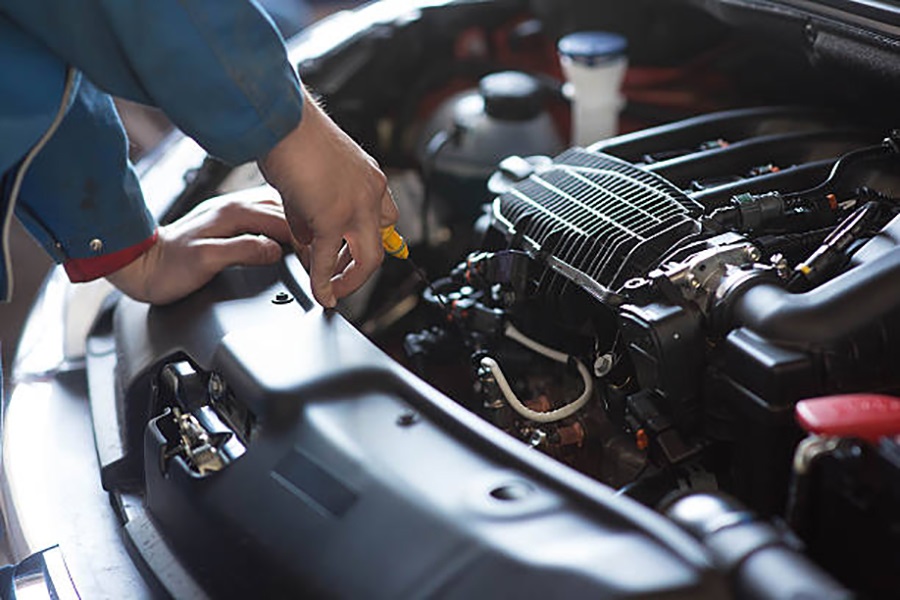
· Step 3: Locate the Fuel Filter
Now, it’s time for somewhat game of hide and inquire. Fuel filters can be situated in different regions depending on your cab. They may be under the hood, near the fuel tank, or even along the fuel lines beneath the motor.
· Step 4: Remove the Old Fuel Filter
With gloves on, use the jerk or socket fight loosen the fittings on either side of the fuel filter. Be cautious—some fuel may reveal, hence the cloth or container. Carefully disconnect the filter from the fuel lines
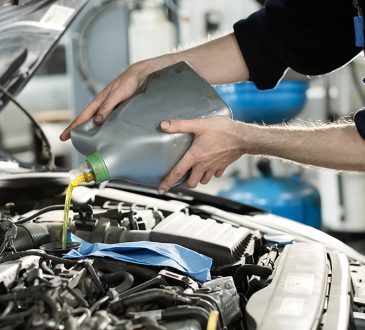
· Step 5: Install the New Fuel Filter
Take your new fuel filter and align it in accordance with the directional arrow, that indicates the fuel flow. Secure it to the fuel lines utilizing the fittings, ensuring they are warm but not overly close, which can cause damage.
· Step 6: Reconnect and Test
Reconnect the fuel pump fuse and the negative battery terminal. Turn on the ignition to the “On” position, allowing the fuel pump to prime the system. Check for any leaks about the new filter. If all looks good, start the engine.
Conclusion
So, the next time your convertible’s performance appears a bit off, deal with checking the fuel filter—you might just acknowledge yourself later. Now, proceed and give it a try; your tool will thank you for it!


